
Meal Planning for Ultralight Backpacking
Whether you’re a long-distance hiker or a weekend backpacker conscious about the weight you carry, going ultralight doesn’t have to mean restricting yourself to only energy gels and protein bars. There’s a place for such convenience in many ultralight packs, of course, but with some planning and preparation, you can also pack tasty, nutritious foods that are lightweight, high in calories, and easy to prepare.
Many of the principles and ideas for typical backpacking meals overlap, so be sure to read other food tips in our article Meal Planning for Backpacking. To go lighter with food, however, aim for meals that use less fuel to cook, take little preparation, require minimal or no cleanup, and cram in the calories for every ounce of weight.
How Much Food Should I Take for Ultralight Backpacking?
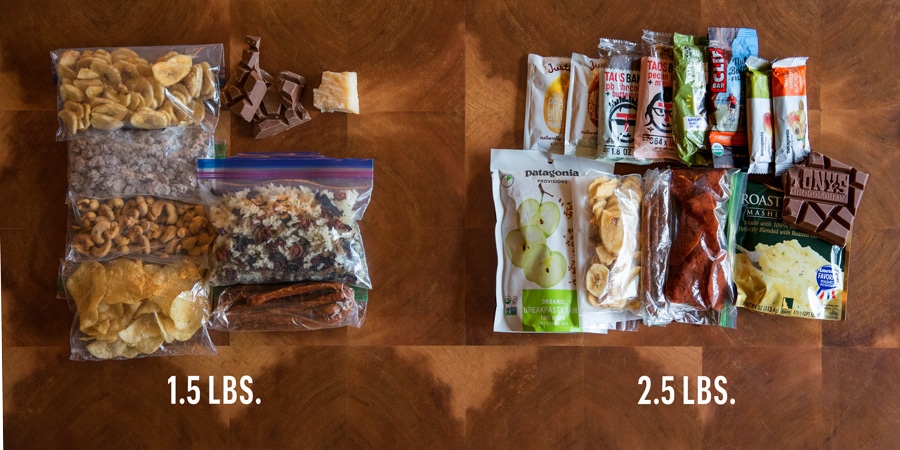
Many ultralight backpackers aim for about 1½ to 2 lbs. of food (or 2,500 to 4,500 calories) per person per day, depending on many factors such as their size, weight, the intensity of exercise, and exertion level, or how many days they’ll be out. If you’re covering 15 to 20 miles a day, you’ll need many more calories than if you’re doing 5 to 10 miles. Everyone will differ on the amount of food they need, and it’ll take experience and practice to figure out the right amount to bring.
What Types of Food Should I Bring Ultralight Backpacking?
There’s a range of approaches you can take with food when backpacking fast and light:
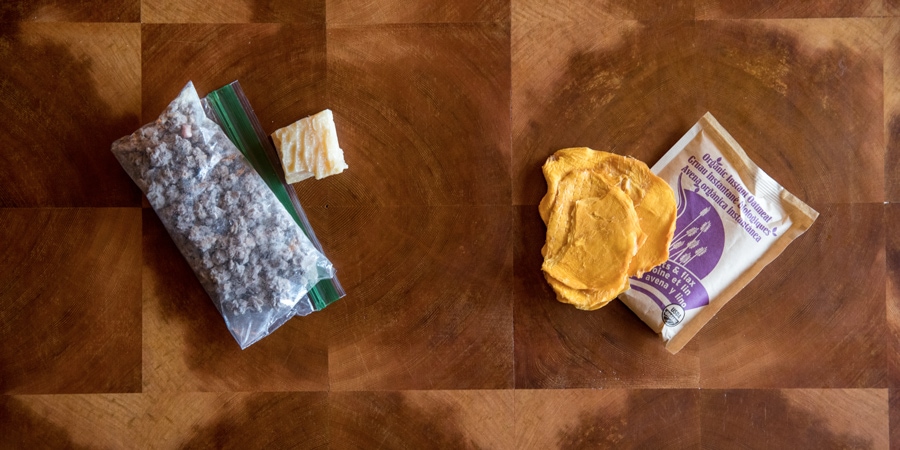
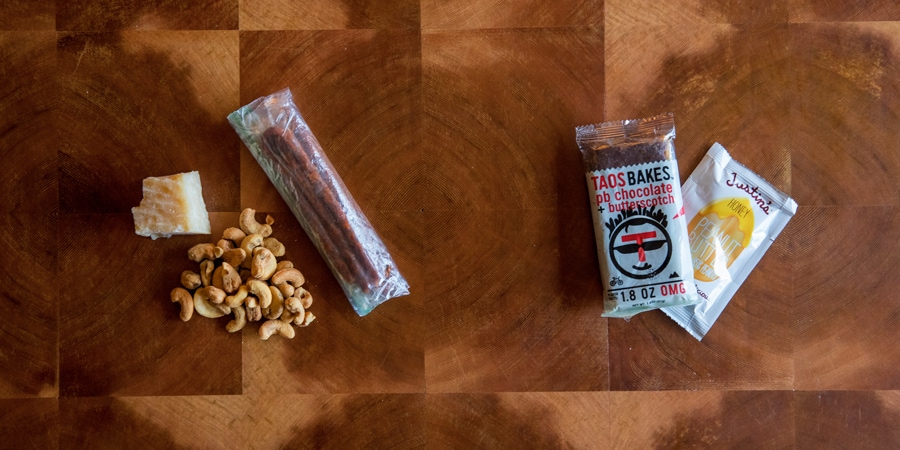
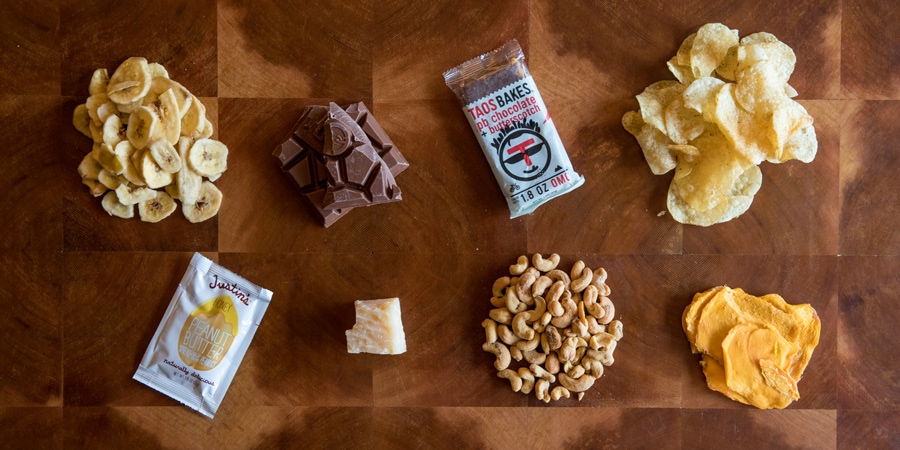
Pack calorie-rich foods: To lighten your food load and still get the calories and nutrition you need to maintain your stamina on the trail, aim for nutritious foods that are high in calories relative to weight and volume. Choose foods that provide at least 100 calories per ounce—125 calories or more per ounce is even better. The goal is to make every ounce of the food in your backpack count, while also balancing your need for carbohydrates, proteins, and fats. This is particularly important for thru-hikers who can’t seem to get enough calories to counter the 4,000 or more calories they may burn in a day hiking long distances. It’s OK to indulge in a chocolate bar if it means getting over the next hill or motivating you to the next camp but try to aim for healthy foods where possible.

Examples of calorie-dense food include:
- nuts (peanuts, walnuts, almonds, cashews) and nut butter (peanut butter, hazelnut butter)
- seeds such as sunflower or pumpkin
- dried fruit such as mangos, apples, cherries, banana chips
- hard cheeses; jerky and dry salami
- energy bars
- olive oil, coconut oil, powdered butter, powdered milk, or protein powder added to meals
Dehydrated meals: Ready-to-eat dehydrated meals that only require water are convenient, require no cleanup, and are a staple in many backpacks. But it can get expensive (not to mention bulky) to pack prepackaged backpacking meals for multiple-day trips. Dehydrating your own food lets you decide exactly what ingredients to include and saves you money. You can dehydrate separate ingredients such as vegetables, cooked pasta, or cooked meat and combine them into meals. Or you can make a batch of chili or soup, for example, and dehydrate that meal altogether. We’ll cover dehydrating basics below.
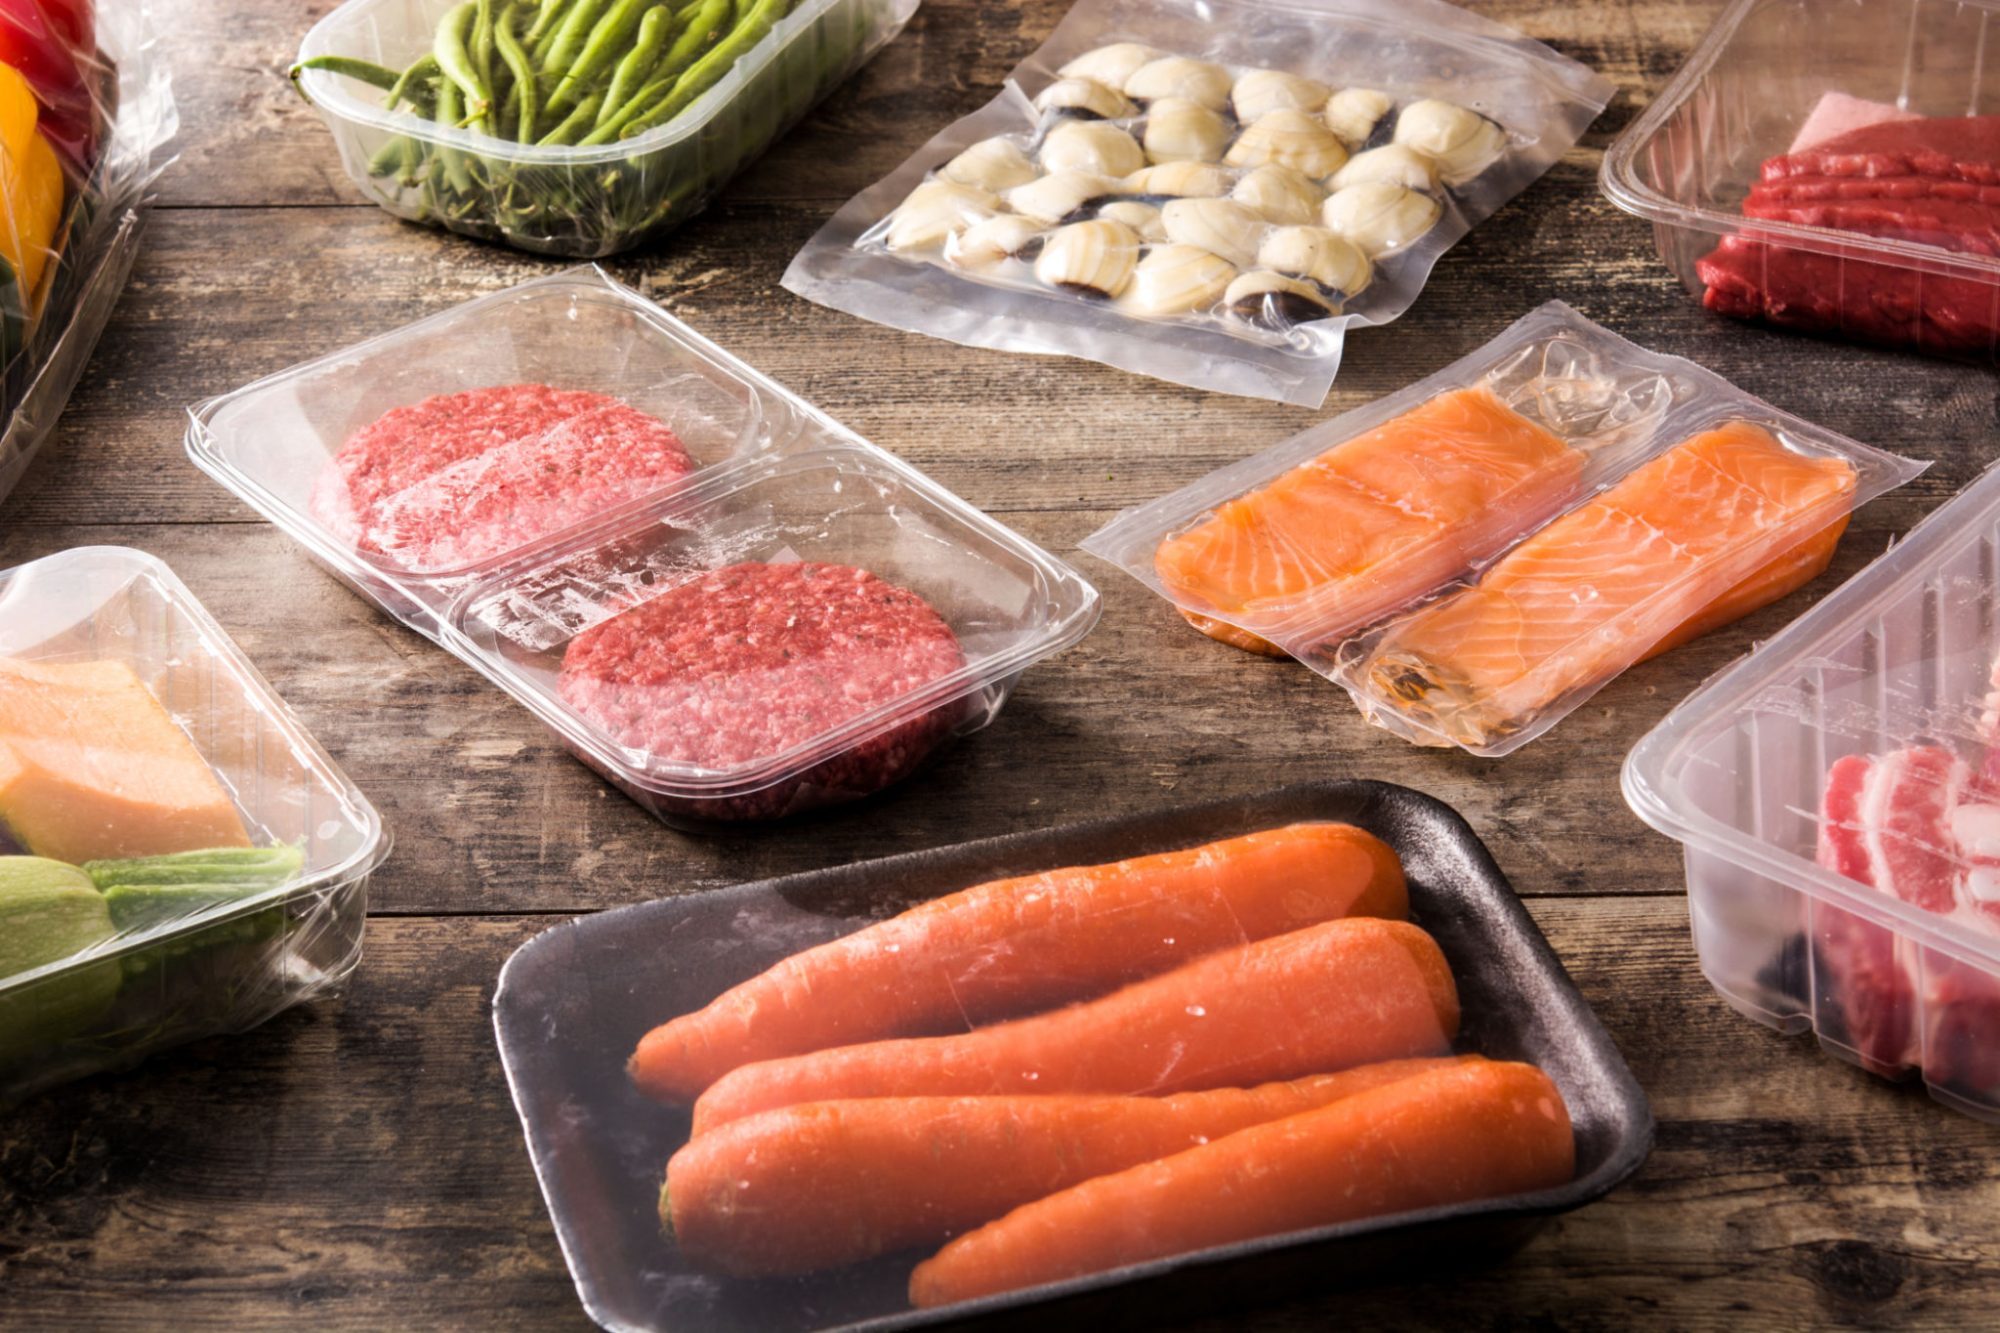
Include some fresh food: Some minimalists balk at taking fresh fruits or vegetables on a trip because they’re heavy to carry. Others make room in their packs for fresh food as a welcome relief from eating dry food all day. Consider including one or two durable fresh items—apple, peppers, kale—on your first day out or on short trips. One of the benefits of ultralight backpacking is that taking a little extra weight for food isn’t a big deal since the rest of your gear is already lightweight.
Additional Food Tips
Bring food you know you’ll eat: Don’t bring items you don’t like or haven’t tried, because eating them on the trail won’t change things. If you can’t stomach oatmeal or peanut butter at home, the most spectacular scenery won’t fix that.
Add variety: Some people can eat the same thing for days on end and not gag. If you’re not that creature of habit, mix it up so you don’t get tired of your food. Include a variety of textures and flavors; this is even more important if you’re out for an extended time.
Plan to raid the convenience store: Thru-hikers on long journeys learn quickly how to scour small town grocery stores to find foods that are lightweight, shelf-stable, ready to eat, or can be combined with other ingredients to make a hearty meal. For more tips, read How to Create a Backpacking Menu at a Gas Station.
How to Dehydrate Your Own Backpacking Food
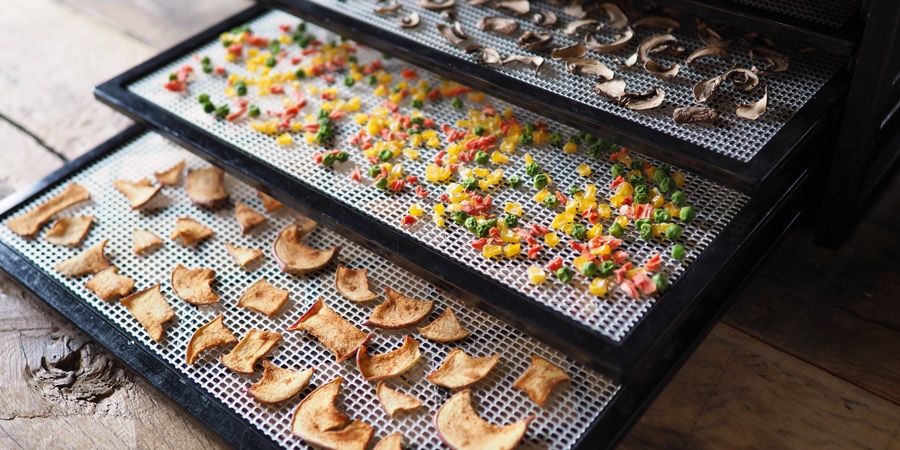
Dehydrating is a way to preserve foods by removing the moisture to prevent spoilage. Doing so makes the food lighter, last longer on the trail, and saves fuel when cooking at camp. You can dry some food in a conventional oven but it often takes much longer and more energy than if you use a food dehydrator. Dehydrated fruits and vegetables can be eaten as snacks or added to other ingredients to boost a meal. Dehydrated chicken or ground beef can also be added to meals.
What meals to dehydrate: Decide what you like to eat at home and figure out how you can make it into a backpacking meal. Chili, stews, pasta, soups, risotto, and rice dishes are all good options that can be dehydrated.
Prepping and preparing dehydrated food: Once you decide what you want to make, there are two common ways to make a backpacking meal. You can dehydrate individual ingredients and combine those together (sometimes with store-bought items) into a meal at camp. Or you can make a meal to completion at homes, such as stew or vegetarian lentil chili, dehydrate that entire meal and rehydrate it at camp.
For a more comprehensive, step-by-step guide, read our article on How to Dehydrate Food. Below are the basics:
- Fruits: Slice ripe fruit or puree it in order to make fruit leather. Dried fruit such as apples, pears, and peaches are great additions to instant oatmeal or granola, or tasty eaten as a snack.
- Vegetables: Choose vegetables that are of high quality and ripe. Peas, corn, peppers, zucchini, mushrooms, beets, and green beans are good candidates for drying. Vegetables with high water content such as cucumbers don’t do so well.
- Meats: Use lean meats, as fats and oils can go rancid and ruin your food. All types of meat should be dried at 145°F until hard and dry.
- Rice, quinoa, pasta, and beans can all be dried ahead of time and used in other meals such as this backpacking burrito bowl or this backpacking pasta alfredo.
Cooking Options for Ultralight Backpacking
No-cook or cold-soaking eliminates the need for bringing a stove and fuel. If you really want to travel fast and light, you can skip hot meals altogether. One way to do it is to only bring food that you don’t need to cook: energy bars, sausage, jerky, cheese, nuts, and snacks, snacks, snacks. Another way to cut out the stove is to cold-soak food: You basically add cold water to dry ingredients or a dehydrated meal, let it rehydrate for some time, and eat it cold. Some foods such as ramen noodles, beans, rice, couscous and hummus work well using this method. If possible, try cold-soaking some items at home first to experiment with what works—and whether you like the taste.
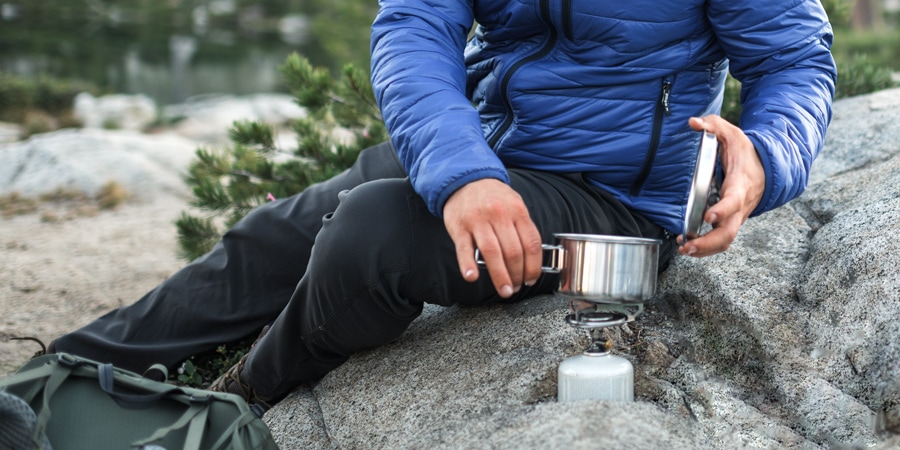
One-pot cooking: To save fuel and weight, bring one small pot to boil hot water for dehydrated or freeze-dried meals or rehydrate food and cook it in the pot. The pot also doubles as a cup.
Cooking in a plastic bag: You can also add boiling water to a freezer bag filled with dehydrated or quick-cooking food, place the bag in an insulated sleeve and let it sit for 20–30 minutes, massaging the bag periodically to ensure the meal is rehydrating evenly. You eat straight out of the bag and cleanup is easy.
Strategies to Conserve Fuel
- Presoak food in cold water: To save fuel and time using your stove, rehydrate dry ingredients in cold water before cooking.
- Cook (or boil) but then turn off the heat: Bring the water just to the boil and then turn off the stove, letting the residual heat do the rest of the work.
- Insulate with a cozy: A staple among some ultralight backpackers is a lightweight, reflective cozy for your cookpot, cup, or meal pouch. We have a photo of a cozy here.
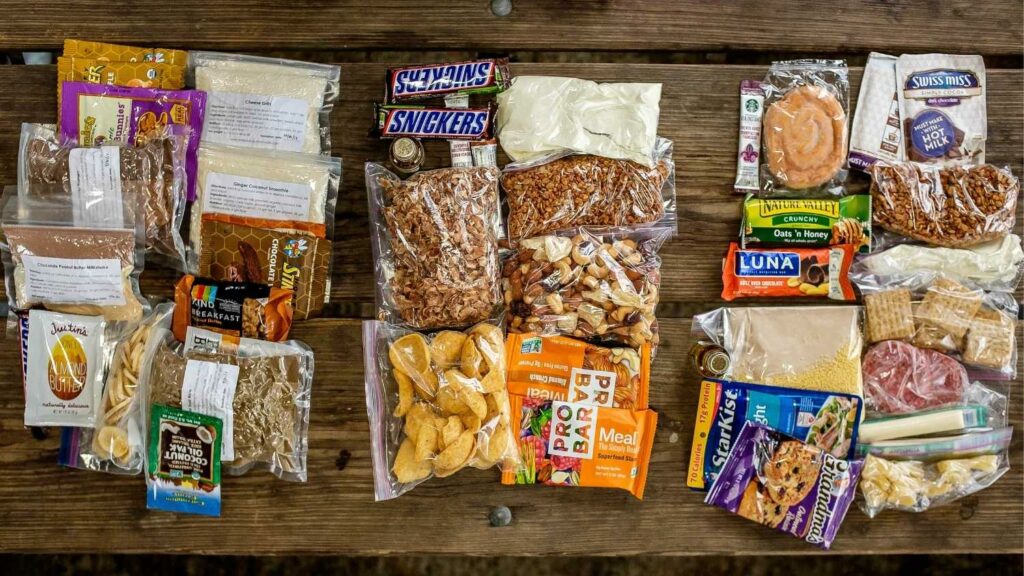
Meal Planning and Ultralight Backpacking Food Ideas
Sample Meal Plan for an Ultralight 3-day Backpacking Trip
| Meal | Day 1 | Day 2 | Day 3 |
|---|---|---|---|
| Breakfast | Granola w/powdered milk, raisins Instant hot apple cider | Instant oatmeal w/powdered milk, dried fruit Instant coffee | Breakfast cookie Hot chocolate |
| Snacks | Energy bars (am) Plantain chips (pm) | Trail mix (am) Peanut butter & pretzels (pm) | Pumpkin seeds (am) Homemade jerky (pm) |
| Lunch | Flavored tuna pouch w/tortilla | Pita w/dehydrated hummus | Crackers, hard cheese, summer sausage |
| Dinner | Vegetarian burrito bowl | Vegetable fried rice; add tuna or chicken (optional) | Coconut curry ramen |
More breakfast ideas: Breakfast or granola bars, oatmeal with dried fruit, bacon jerky, tortilla with hazelnut butter, instant grits, instant mashed potatoes with bacon bits, powdered eggs with tortilla
More lunch ideas: Salami with tortilla, instant soups, hummus bowl, tortilla with peanut butter and dried banana, peanut butter and jelly sandwich, crackers, cashews
More snack ideas: Dried veggies, jerky, fruit leather, granola bars, nut butters, cookies, chocolate, banana chips, dried mango slices

More dinner ideas: Get creative when assembling your backpacking meals. Start by picking a protein (dehydrated chicken, ground beef, shrimp), then choose a starch (instant rice, instant mashed potatoes, couscous, dehydrated quinoa, instant refried beans), and finally add dehydrated vegetables and spices.
- Ramen (or rice noodles): Add dried shiitake mushrooms and other dehydrated vegetables + a packet of hot sauce
- Corn chowder: Instant mashed potatoes + freeze-dried corn + dried shrimp (or bacon bits) + powdered butter
- Rice pilaf: Package of flavored boxed rice + powdered milk + dehydrated vegetables or beans
- Pesto pasta: Dehydrated or quick-cooking pasta + salami + package of pesto powder
- Chicken couscous bowl: Cube of chicken bouillon + freeze-dried or dehydrated chicken + couscous + dehydrated vegetables
- Macaroni and cheese: Box of store-bought macaroni + dehydrated ground beef, jerky pieces, or TVP (textured vegetable protein)
- Tuna casserole: Package of tuna + dehydrated or store-bought pasta + dehydrated vegetables + powdered milk
Ashley Brown is a writer and backpacker who fell deeply in love with the Pacific Northwest at age 12. Her favorite book growing up was My Side of the Mountain. In 2015 she completed a thru-hike of the Pacific Crest Trail.
Related Posts
HIKING THE EPIC AMATOLA TRAIL – South Africa’s Most Challenging Trail
One of the most remarkable aspects of our journey was the ever-changing landscapes. From dense
Backpacking Food Hacks to Keep You Eating Well Anywhere
Reward yourself on your first day out with a delicious milkshake. Just grab a pint
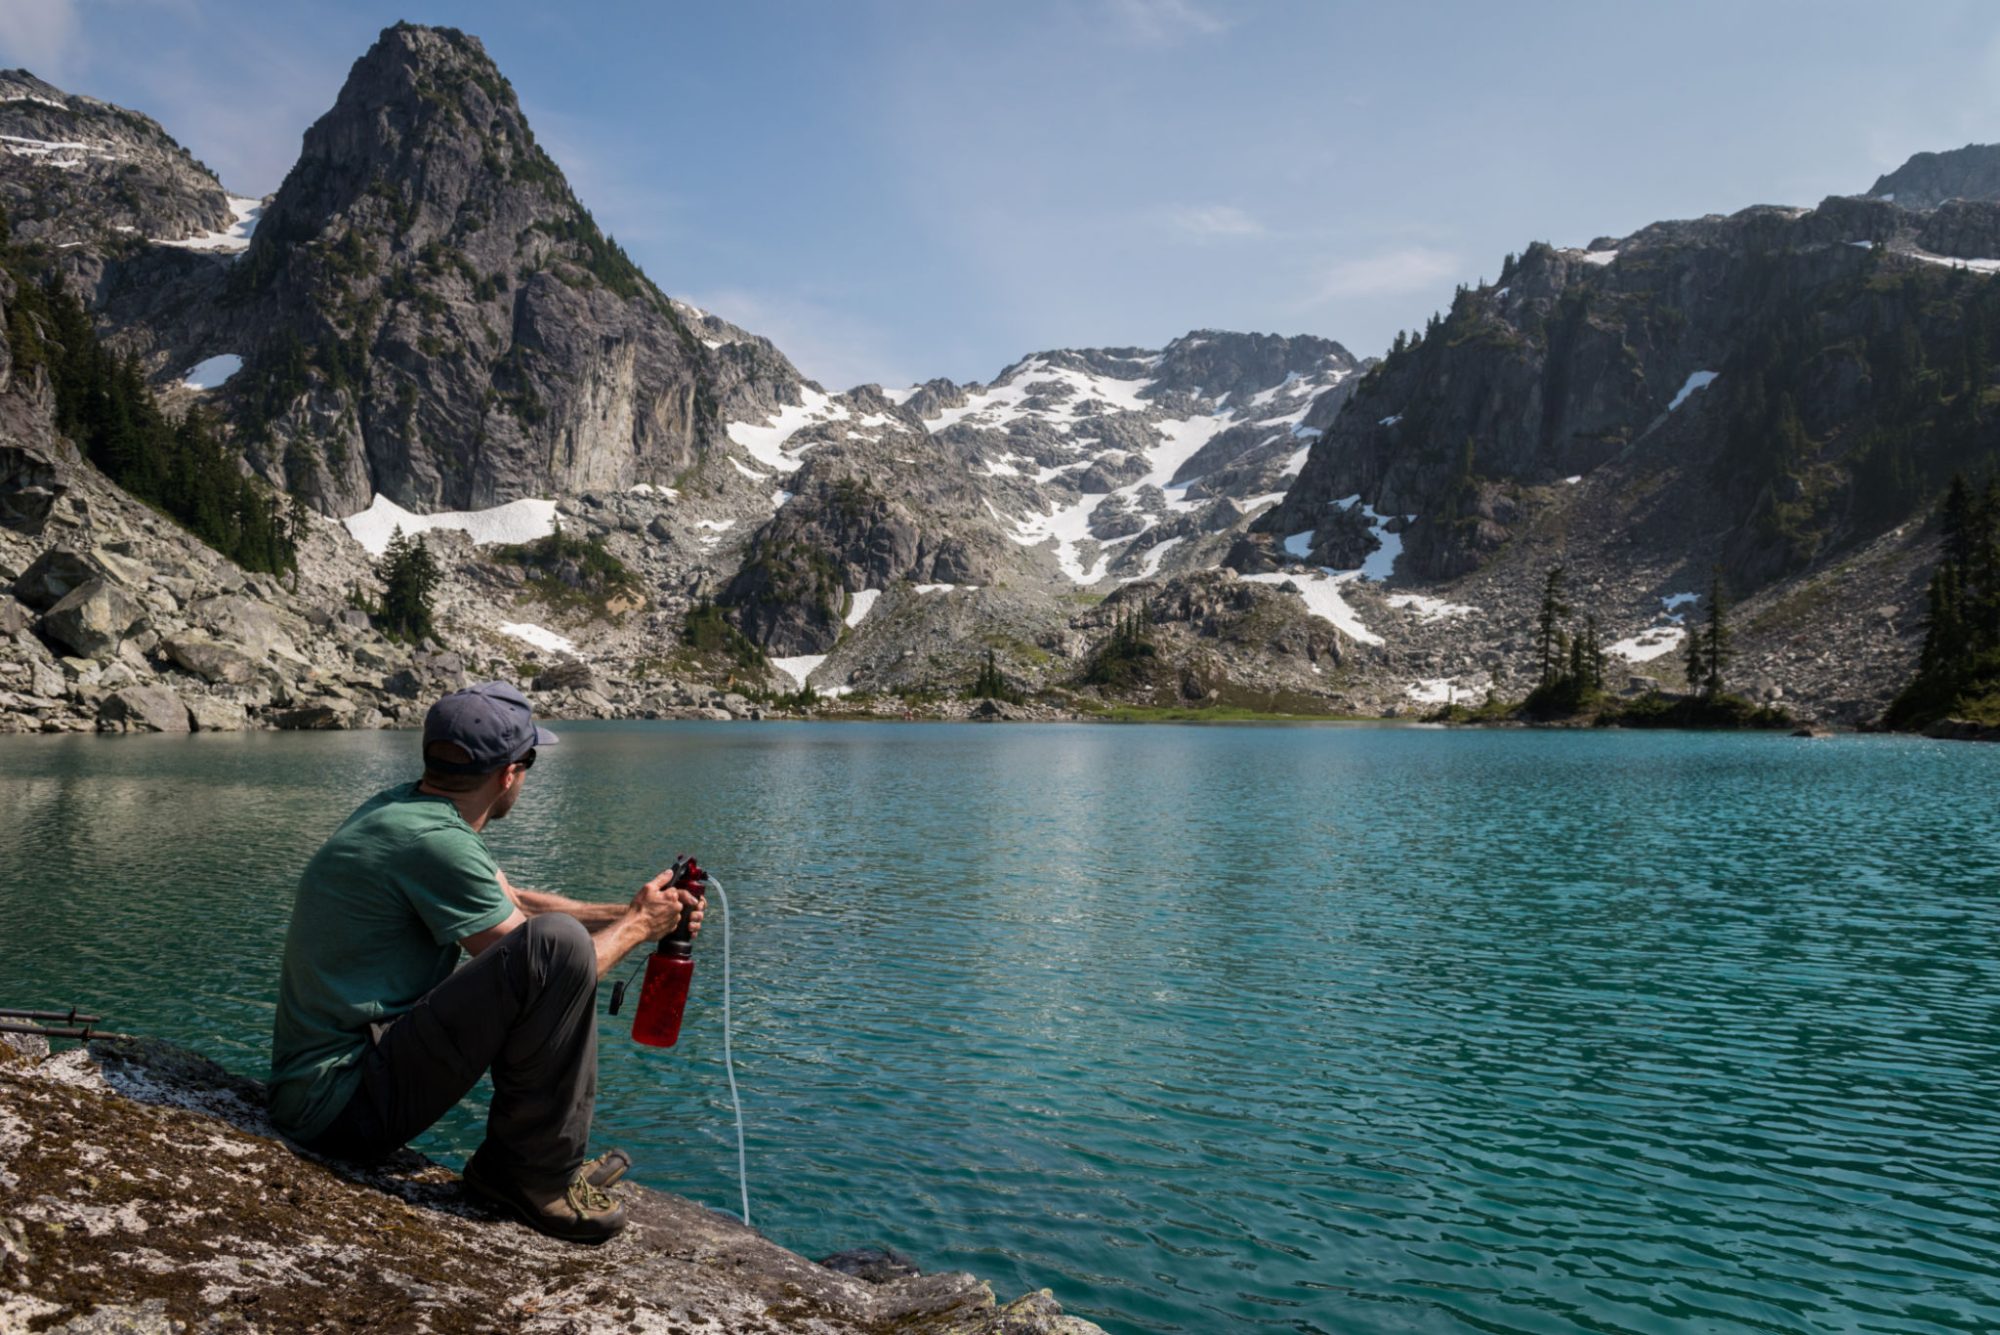
How to Choose a Water Filter or Purifier
Water purifiers also combat viruses, which are too tiny for most filters to effectively catch.