A Beginner’s Guide to Bikepacking
Heading out on your bike and exploring the wilderness on two wheels, carrying everything you need for an overnight adventure. Setting up camp when your legs can no longer pedal or darkness falls, cooking your meal on the campfire before a good night’s sleep under the stars. Waking up early the next morning to cook breakfast and head out for another day of adventure. Sounds perfect? Then our beginner’s guide to bikepacking will get you on your way…
What is Bikepacking?
Bikepacking is essentially having multi-day, self-supported adventures on your bike. Typically, this would involve being more off-road than on-road and would feature some kind of lightweight camping, whether that’s in a small, lightweight tent, or an even lighter bivvy bag and tarp set up.
Whereas traditional cycle touring would involve long journeys by road, potentially using B&Bs or hotels for overnight stays, Bikepacking is about getting out into the wild and exploring off the beaten track. While some of the principles of cycle touring remain the same, you could say that Bikepacking is cycle touring’s younger, cooler, more adventurous little brother.
The rules around what qualifies as bikepacking are quite vague, and so they should be because ultimately it’s getting out and exploring on multi-day expeditions that are the important bit.
Bikepacking can mean just heading out of your front door with enough kit attached to your bike for a quick overnight microadventure somewhere fairly local. It can also mean a journey of hundreds of miles across rugged, wild terrain, either here in the UK or anywhere else in the world. Bikepacking is whatever you want to make of it. If it involves heading out on your bike for an adventure that involves some form of camping, then bikepacking it is.
What Makes a Good Bikepacking Bike?
Typically, a bikepacking bike would be a lightweight, hardtail mountain bike that is capable of eating up the miles on varying terrain. However, the perfect bikepacking bike largely depends on what kind of terrain you are intending to travel over and what style of riding you are into.
Fatbikes with huge 4″ tires have long been associated with bikepacking. The ability of a fat bike to handle any terrain from mud to sand to snow has made it a firm favorite for those looking to really head out into the wilderness. But, equally, the rise of gravel and adventure-style road bikes has paved the way for a completely different kind of bikepacking adventure. These bikes are much like road bikes but with a more relaxed frame geometry and space within the forks for tires with more grip. They are fast and lightweight and capable of taking advantage of the many hundreds of miles of ridable bridleways that cross the UK.
As the old adage says, the best bike is the one that you already have, and that couldn’t be truer in this situation. If you’re new to bikepacking and just want to try it out then make do with whatever bike you have. As long as it’s in working order, safe, and comfortable for you to head out and explore on then it’s perfect. You’ll just need to be able to attach some bikepacking bags to it, but more on that later.

Where Can I Go Bikepacking?
The UK is perfect for bikepacking and there are many waymarked routes that are suitable for exploring, such as the West Highland Way, the Pennine Cycleway, the South Downs Way, and many more. But if you are new to bikepacking and are looking for something shorter and closer to home then the National Cycle Network (NCN) is a great way to find local routes that are a mixture of quiet country roads and gravel tracks. There are over 5000 miles of NCN routes in the UK, so putting together a bikepacking route that explores places that you’ve never seen before is easy.
When using OS Maps to plan your routes online, there is a National Cycle Network layer that can be added so that all of the UK’s cycle network is clearly identifiable. With this, you will see that the network covers a huge area and it becomes very easy to start linking these routes and planning your perfect adventure.
Of course, the beauty of bikepacking is about getting off the beaten track, so if you’re looking for adventures that are wilder than the NCN then the best bet is to pick up an OS map and start looking for bridleways and tracks that go into the depths of our National Parks.
Where Can I Sleep When Bikepacking?
Bikepacking purists will tell you that the beauty of bikepacking comes from the ability to just pitch up and wild camp wherever you can find a suitable spot. For many people, it’s that sense of freedom that draws them to bikepacking in the first place.
Wild camping is permitted in Scotland and in Dartmoor National Park, but for the rest of the UK it’s technically illegal. However, adopt the wild campers mentality of ‘arrive late, depart early, and leave no trace’, and you should be fine. Of course, if there’s an opportunity to ask the landowners permission then you always should, but generally speaking, if wild camping is done correctly then nobody will ever know you were there.
If you’re new to bikepacking and the wild camping element doesn’t appeal to you just yet, then it’s perfectly acceptable to use proper campsites as part of your journey. In peak seasons you will probably need to book ahead for this to ensure you have a place to sleep. The downside to this is that you need to know your own capabilities very well so that you don’t end up booking campsites that are too far apart or too close together. The last thing that you want is to be overstretched and end up miles away from your pre-booked campsite as it starts to get dark.
It’s your adventure so whether you choose to wild camp or head for a real campsite is completely up to you. The important thing is packing light and enjoying the journey.

What Should I Sleep in When Bikepacking?
We’re going to talk about a few of the basic options for sleeping on your bikepacking adventure and the pros and cons of each. But, it’s important to remember that every single bikepacking expedition is different and there is a huge variation between the gear you might need to carry for a week-long trip to Scotland in the winter compared to an overnight jaunt to the Peak District in summer.
If you’re new to bikepacking, where you are going to tuck yourself up for the night is really important. Typically, the main three options are a tent, a bivvy bag, or a hammock. All three options have pros and cons and there is no right answer. It’s all about personal preference.
Tent
A tent will offer you the most protection from the wind, rain, and cold weather, should you be caught out in bad conditions. And psychologically, many people feel much more safe and secure when there is a door to zip up and close, separating you from the night and anything your imagination might convince you are lurking around out there. The downside to having a tent is the weight and bulk. Unless you’re going to spend hundreds of pounds on a super-lightweight backpacking tent, you need to expect that even a one-man tent is going to add a bit of weight to your bike and the tent poles will add a bit of bulk too.
Some of the best options for tents include:
Bivvy
Bivvy bags are another option. A bivvy bag is essentially a waterproof bag that your sleeping bag goes inside. The big pro here is that they are very lightweight and fold down very easily. So if keeping your bike weight as low as possible is your priority, this is a great option. The downside to bivvy bags is that you are still somewhat exposed to the elements and you are essentially sleeping under the stars. Although a bivvy bag is waterproof and you’ll be absolutely fine if you’re just caught in a shower if there’s heavy, persistent rain you are going to start feeling miserable pretty quickly. To combat this, you could rig up a tarp too. With just a lightweight tarp and a few lengths of rope, you can build a rudimentary shelter over your bivvy and give yourself an added layer of protection.
Some of the best options for Bivvy Bags include:
Hammock
A hammock is another lightweight and really comfortable way to spend the night. Again, many people who use a hammock will also rig up a tarp above them to give some protection from rain, and this whole set-up will weigh much less than the average tent. However, sleeping in a hammock can expose you to the cold more so than tents or bivvys. When you’re suspended in a hammock the cold air can get all around you, leaving you feeling pretty chilly on a cold night. Also, if you’re not a ‘bushcrafty’ kind of person, you might find setting up a hammock and securing all of the ropes quite difficult. The last thing you want after a long and strenuous day of riding is a challenge to get your hammock to stay up.
Some of the best options for Hammocks include:
Other Options
There are another couple of options for sleeping setups that offer the best of both worlds.
Alpkit makes a hooped bivvy bag. This is a freestanding bag with headspace, meaning that you have a little bit more protection from the elements than a standard bivvy, but less weight than a standard tent.
Topeak used to make the Bikamper tent. A tent specifically made for bikepacking that utilizes your bike wheel instead of poles to keep the tent upright. A great option if you want the security of a tent but without the weight of the poles. This has been discontinued now, but you can still find places to buy them online.

What Equipment Do I Need For Bikepacking?
I know that a lot of people ask what equipment they need to start bikepacking, and the answer to that varies massively depending on what kind of trip you want to take.
When heading out for your first bikepacking adventure, the tendency is to overpack. You’ve got some new bikepacking bags on your handlebars and your saddle, and you feel as though you need to fill them. And maybe you do – but not always.
The best advice I’ve heard for people who are brand new to bikepacking, is to go and sleep wild somewhere locally first. Then, if you’ve forgotten something absolutely essential, you are not that far away from home to go and pick it up. But, likewise, you should be paying close attention to the things that you use and don’t use that night. If you didn’t need it on that first night, chances are you don’t need to pack it for your proper trip either.
Bikepacking is all about living adventurously and roughing it a little bit. Unless you’ve forgotten your bike, your tent, or your food and water, chances are you’re going to be OK.
At its most basic level, you need a well-maintained bike, a bag to carry your food, camping gear, clothing, and food, and either a tent or a bivvy bag.
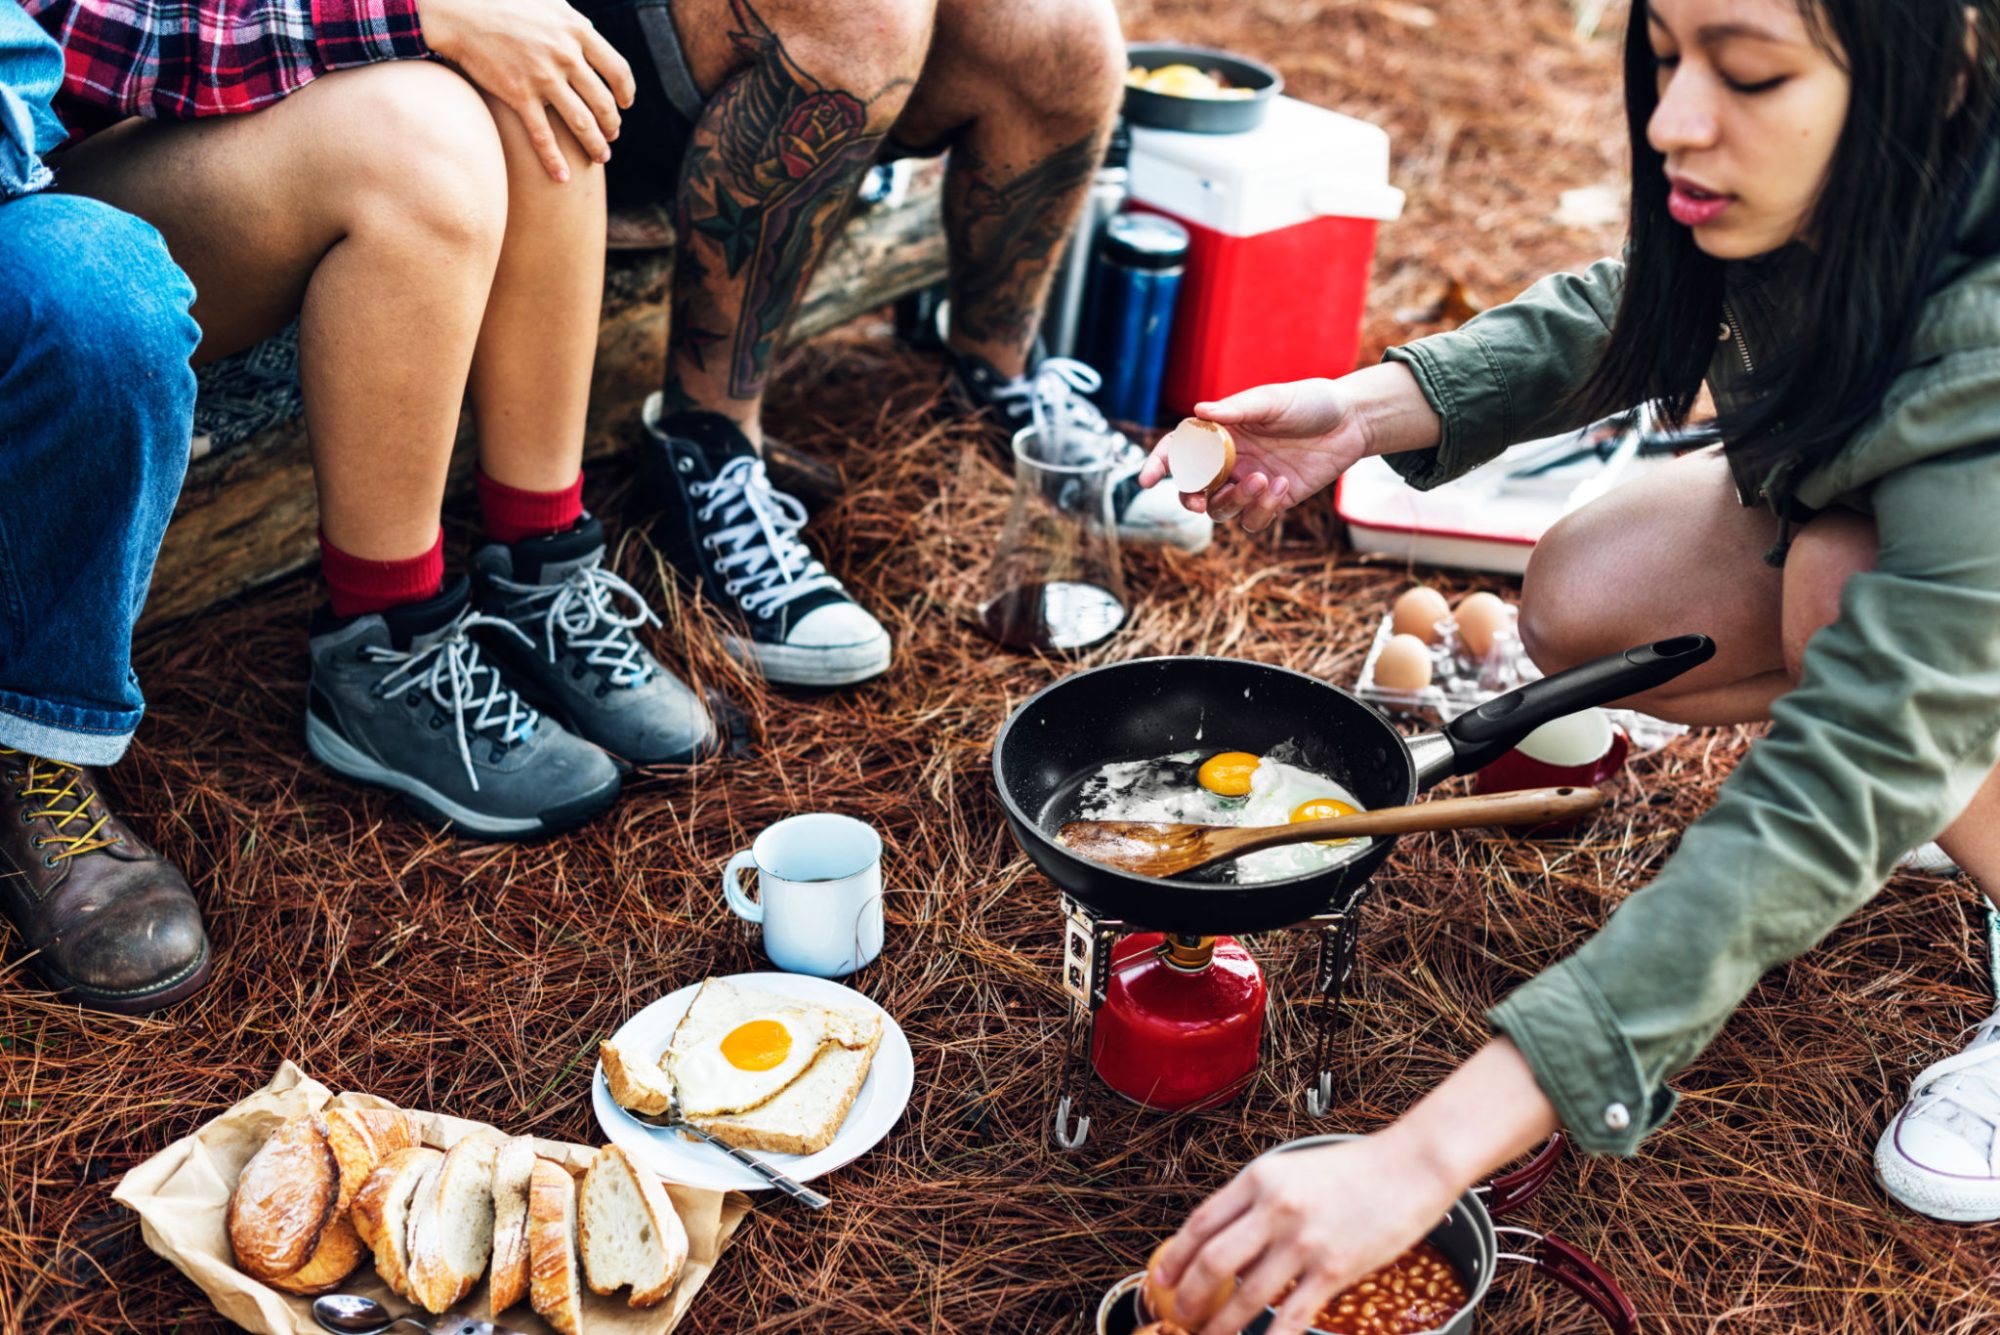
If you’re staying fairly close to civilization, where you can buy food on the go from shops and cafes, then you can travel fairly lightly, but if you’re planning multi-day adventures in the wilderness then you are going to need to carry food, water, and a camping stove along with your camping equipment.
Bikepacking Bags
Typically, cycle touring bikes would use bags that attach to panniers, whereas bikepacking bags generally attach straight to your bike frame without the need for panniers. Depending on how many kits you plan to carry, there are various options for where you can add bags. Handlebar bags, saddlebags, and frame bags are the most common options and you can buy fork bags and smaller bags for the top tube if you really need to store things for longer trips.
Bikepacking Kit List
Every bikepacking trip is different so a definitive kit list is impossible to create. But, here are a few of the main things that are needed. Remember to pack light though, just because you could take it doesn’t mean you should take it.
- Tent
- Sleeping Bag
- Sleeping Mat
- Bivvy Bag
- Handlebar Bag
- Saddlebag
- Frame Bag
- Camping Stove
- First Aid Kit
- Bike Repair Kit
- Spare Inner Tubes
- Head Torch
- Maps
By now you should have a fair idea of what you need and don’t need, but the important thing to remember is that bikepacking is supposed to be about the adventure. Don’t wait until you’ve got a brand new bike and everything you could possibly think of for your kit-list. Grab whatever bike you can get hold of and just get out there. Start small by heading out locally and building your equipment up over time.


